Contact Us

Step-by-step card project with Spectrum Noir Academy of Colour

  1. Read time: 4 minutes
  2. Written by: Crafters
Unlock new art skills, techniques and effects with the Spectrum Noir Academy of Colour! Filled with DuoColour Alcohol markers, Aqua markers, paintbrushes, specialist paper and so much more, this comprehensive art kit invites you to uncover newfound creativity.

Alongside premium artist-quality materials, the Academy of Colour also includes access to exclusive online tutorials to show you how to use your DuoColour markers and tools to create stunning blended effects.

And to get you straight into colouring and crafting as soon as you open the box, here’s a step-by-step project to create a stunning coloured card using DuoColour Alcohol Markers!


DuoColour Markers

Spectrum Noir DuoColour Markers bring you affordable, premium artist’s quality like never before. Their precision brush nibs offer expressive free-form strokes, seamless blending, delicate curves and precise flicks of colour.
So, it’s never been easier to enjoy smooth coverage and a seamless blended finish. 


You will need:

White Multipurpose Cardstock
Collall All Purpose Glue
Foam Pads
Black Multipurpose Cardstock
Circle dies and a Gemini Die Cutting and Embossing Machine (optional)
Scissors

    Step-by-step instructions


    1. Cut a piece of white cardstock to 11 1/2″ x 5 3/4″. Score at 2 7/8″ and 5 3/4″ to create a fold back card as shown in the image.


    2. Time to create the mats and layers.
    Cut black card to measure 5 1/2″ x 5 1/2″ and another piece to measure 5 1/2″ x 2 5/8″.

    Next, cut a piece of white card to measure 5 1/4″ x 5 1/4″ and another piece to measure 5 1/4″ 2 3/8″. Attach the white pieces on top of the black pieces to create a stepped border effect. Glue onto your card base.


    3. Cut out a circle from black card that measures 4 1/2″ in diameter. Next, cut out a circle in white card with a 4 1/4″ diameter. Glue together and adhere to the left side of your fold back section using foam pads.
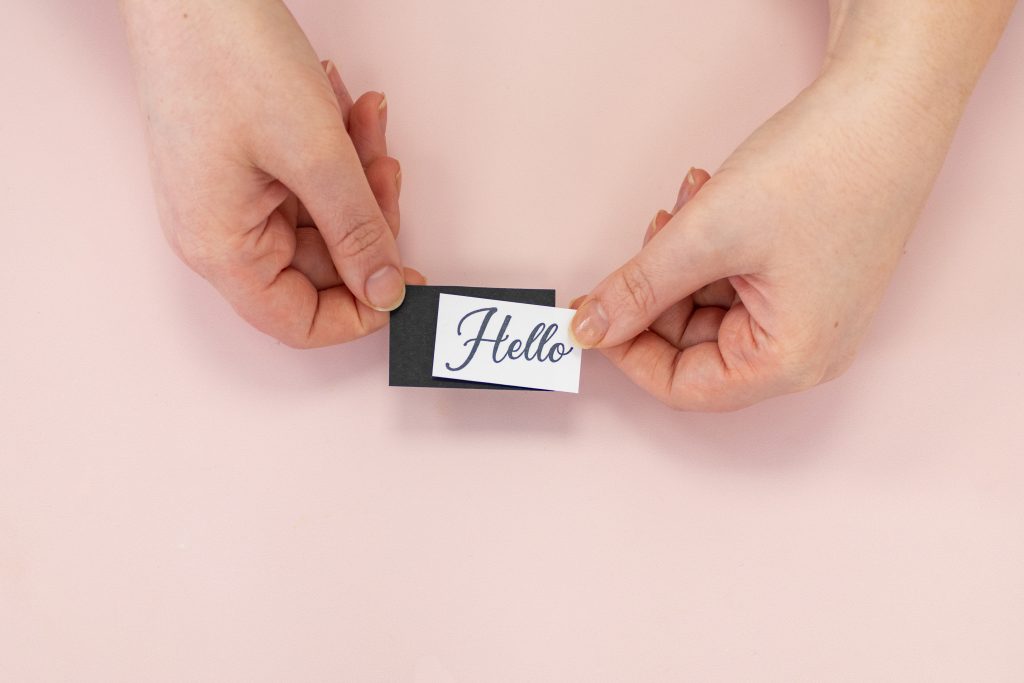


    4. Choose a sentiment from the stamps included in your Academy of Colour set and stamp onto white card using the Finesse Alcohol Proof Inkpad. Cut out a piece of black card slightly larger and adhere together to create a mat. Attach to your card base using foam pads.
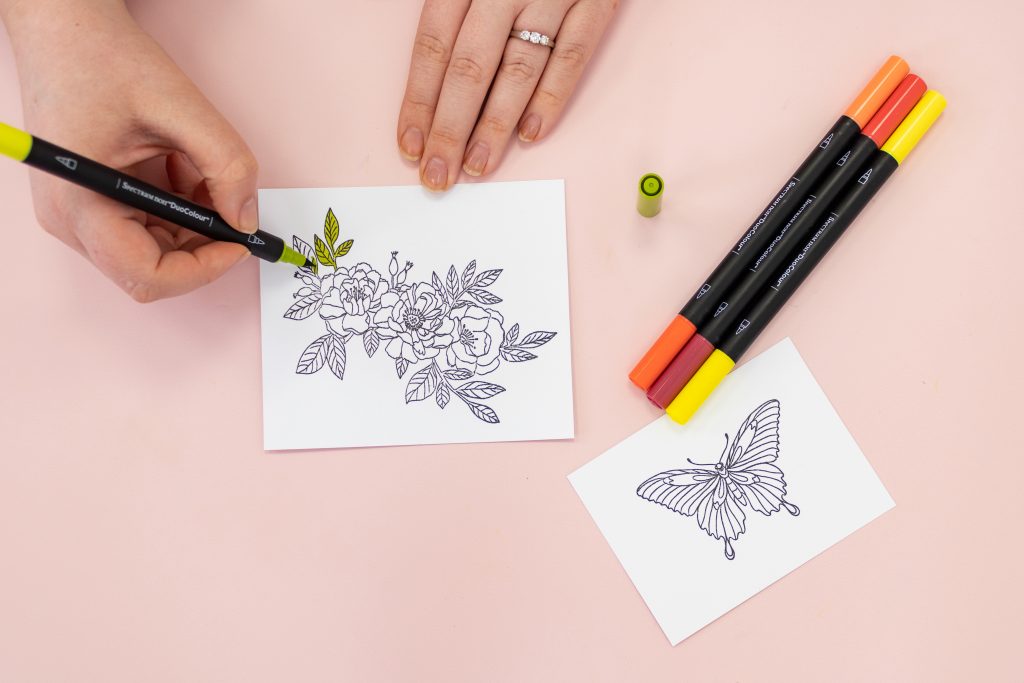


    5. Stamp the butterfly and floral garland designs from your Academy of Colour set onto white Neenah card using the Finesse Alcohol Proof Inkpad.

    6. Time to add colour using Spectrum Noir DuoColour Alcohol Markers!
    - Colour in the butterfly using CR8 and CR6.
    - Layer and blend IG8, DR4, DR2 and FS7 to colour the flowers.
    - Layer FS7 on top of the others to lift the colours underneath.
    - Use the Opaque White Pen to add bright highlights to the petals.
    - For the leaves, layer and blend IG5, CG3, CG1 and CG4.
    - Use IG5 as the base colour to add shadow, and add CT4 last to life the colours underneath.

      7. Use scissors or a craft knife to fussy cut out your butterfly and flower designs. Use foam pads to attach to the card base.


      If the Spectrum Noir Academy of Colour set has awoken your inner artist and you want to learn even more. Why not continue your journey of discovery through a programme of inspirational and interactive online tutorials? 

      Over a total of 18 hours, you will learn the difference between alcohol colouring and water colouring and practice a whole palette of new skills. 

      Bespoke kits are also available to purchase for each tutorial, with all of the Spectrum Noir markers, pencils and tools you’ll need to follow along. So you can stock up on your art supplies as you learn! 
      And don’t forget to show us your artworks on FacebookInstagramLinkedIn, or TikTok and use the hashtag #crafterscompanion on your post.

      1. Papercraft
      2. Beginners Guides
      3. Colouring

      Recommended Articles

      Your Basket

      Subtotal (0 items) | €0,00

      Your bag is empty