How to craft an embossed gift box
- Read time: 3 minutes
- Written by: Sara Davies
Find out how to make your own beautiful embossed gift box, with intricately sculpted, 3D decoration using our easy step-by-step guide.
Embossing is a great way to add depth, dimension and 3D texture to your crafts. It’s so easy to master and you can get creative to highlight your raised design with inkpads or your favourite colouring medium.
We’ve used Gemini 3D Panel Embossing Folders for this project, each set includes a pair of different but co-ordinating designs so you can mix and match to find your favourites.

You will need:
- Gemini 3D Panel Embossing Folders:
- Spectrum Noir Shimmer Inkpads:
- Amethyst
- Frosty Mint
- Starlit Sky
- Sugar Plum
- Tropic Blue
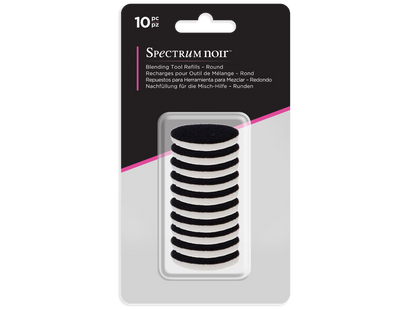
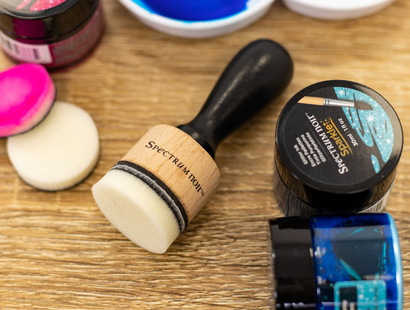
- Spectrum Noir Blending Tool
- Crafter’s Companion Ultimate Verse Compendium (or a sentiment stamp of your choice)
- Multi-Purpose Card
- Matt Black Card
- Centura Pearl Hint of Silver A3 Card
- Ribbon
- Collall All-Purpose Glue
- Collall Tacky Glue
- Red Liner Tape (12mm width)
- Foam Pads (2mm and 3mm depth)
- Die-cutting machine
- Scoreboard
Step-by-step instructions:

- Cut two pieces of Centura Pearl card , each measuring 11 1/4″ x 11 1/4″.
- Score at 2 1/4″ on all four sides.
- Cut in where the score lines cross in all four corners as shown.
- One will form the box base and one will form the box lid.

- Cut four pieces of Multi Purpose Card to measure 1 3/4″ x 6 1/4″. Use a Die cutting and Embossing Machine to emboss each piece using a different 3D Panel Embossing folder from the two sets.

- Use your Spectrum Noir Shimmer Inkpads and a Blending Tool to apply colour to your embossed panels as shown.

- Cut four pieces of black card to measure 2″ x 6 1/2″ and attach the embossed panels on top.
- Glue the pieces to all four sides of your box lid piece.

- Cut a piece of Multi Purpose card to 6 1/2″ x 6 1/2″ and use your Shimmer Inkpads to colour the edges.
- Cut a piece of black card to 6″ x 6″ and a piece of Multi Purpose card to 5 3/4″ x 5 3/4″. Layer onto the coloured piece and attach to the front of the box lid as shown.
- Cut a piece of Multi-Purpose card to 1 ¾” x 4 ¾”. Choose one of the embossing folders and create the embossed design using a Gemini Die Cutting and Embossing Machine. Apply Shimmer Ink using a Blending tool.
- Cut a piece of black card to measure 2″ x 5″ and layer your embossed panel on top. Use foam pads to attach your panel onto the box lid.
- Cut a piece of Multi Purpose Card to measure 2 1/4″ x 2″ and layer onto a piece of black card measuring 2 1/2″ x 2 1/2″.
- Choose a sentiment stamp, apply several colours of Shimmer Ink to the stamp to create an ombre effect and stamp onto your card piece. Use foam pads to attach your sentiment panel to the box lid.
- Fold your box base and box lid together and use Red Liner tape to secure in place.
- Decorate with a ribbon bow as a finishing touch.

We can’t wait to see your finished makes! So, don’t forget to show us your creations on Facebook UK, Facebook USA, Twitter, Instagram UK, Instagram US, Pinterest UK or Pinterest US using the hashtag #crafterscompanion


