How to craft a box organiser with Nature's Garden Hummingbird Collection
- Read time: 4 minutes
- Written by: Crafters
Do you love letter writing? Are you a keen crafter? Then we have the perfect craft project for you!
This step-by-step guide uses the lush and truly gorgeous Nature's Garden Hummingbird Collection to create a beautiful box organiser that opens out to reveal shelves, a notelet holder and envelopes. Just follow our comprehensive instructions to take you through this beautiful build to create the perfect handmade gift.
You will need:
- Nature's Garden Hummingbird Collection
- Guillotine
- Rock a Blocks
- Finesse Alcohol Proof Inkpad- Noir Black
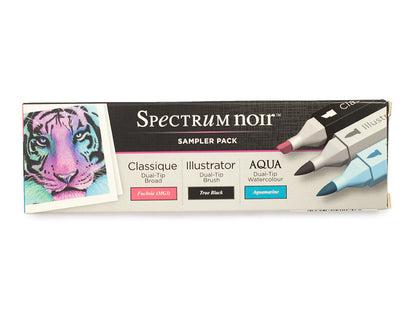
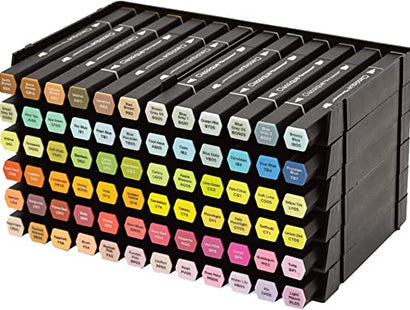
- Classique Markers
- Ultimate Pro Scoreboard
- Gemini Die Cutting Machine
- Neenah Solar White Stamping Card
- Crafter's Companion Tape Pen
- Craft Knife
- Ruler
- Ribbon
- Enveloper ( if you want to make envelopes!)
Step-by-step instructions:

- Cut out pieces of Linen Card as follows:
- Two pieces 8" x 10"
- One piece 3" x 8"
- One piece 4" x 8"
- One piece 5" x 8"

- Take both 8" x 10" pieces and use the Ultimate Pro to score down the 2" line on both shorter sides and one long side as shown.

- Use a craft knife to cut out the bottom corners on one piece of card and small slits in the other piece of card as shown.

- Fold both pieces and slot together as in the image.

- Take the 3" x 8" and the 5" x 8" card pieces and score down the 1" line down both shorter sides and one long side.

- Use a Glue Tape Pen to attach the piece from the previous step to the inside of your box shape. Use the longer piece at the centre point of the box and the shorter piece at the front to create shelves.
- Use your patterned paper paper pads to cut out pieces measuring roughly 1/4" smaller than each panel. This is called matting and layering. Top Tip: use a sheet of the 12” Paper Pad on the front flap to go over all three sides and then use matching6” Paper Pad for the 2 dividers and back panel of the inside of the box to create a cohesive look.


- Lay the Hovering Humming Bird Die and its outer frame onto Neenah Card. Follow the instructions included with your Gemini machine to die cut the design.

- Colour using Spectrum Noir Classique Markers
- Attach a piece of vellum to the back of the die cut image and attach to the front of the box. Cut out and attach frame to go around the outside of the hummingbird design using matching patterned papers. Top Tip: use the outer die from the Hovering Hummingbird Die to create the outer edge and then use a ruler and knife to create an aperture.


- Take the 4" x 8" piece of card and score a 1" line around all four sides. Cut notches out of each corner, fold and attach it to the box lid.

- Add mats and layers with patterned paper using the same technique as previously and make sure your lid fits the box.

- Take the largest die from the Tropical Tags set and die cut two with Linen Card. This will form your notelet holder!

- Using the same die cut out some sheets of white paper or card that will become the inserts for your notelet holder.

- Use the smaller Tropical Tags die to cut out a shape from patterned paper and attach to one of the coloured card tag shapes. Sandwich the white shapes in between both layers of card and tie together with ribbon

- Die cut floral decorations from the Tropical Tags set and decorate your notelet holder. Use Finesse Alcohol Proof Inkpad and Rock a Blocks to stamp a sentiment from the Spread Your Wings set onto a piece of white card and attach.

- Cut pieces of 12" x 12" patterned paper to measure 8/14" to make envelopes to store inside your box organiser.

- Use your the G line of your Enveloper on all sides to create cute envelopes!

We can’t wait to see your finished makes! So, don’t forget to show us your box organisers on Facebook UK, Facebook USA, Twitter, Instagram UK, Instagram US, Pinterest UK or Pinterest US using the hashtag #crafterscompanion

