Discover The Versatility Of Create-a-Card Dies With Dawn Macfie
- Read time: 2 minutes
- Written by: admin
There is nothing like showing someone that you care by creating something heartfelt and unique.
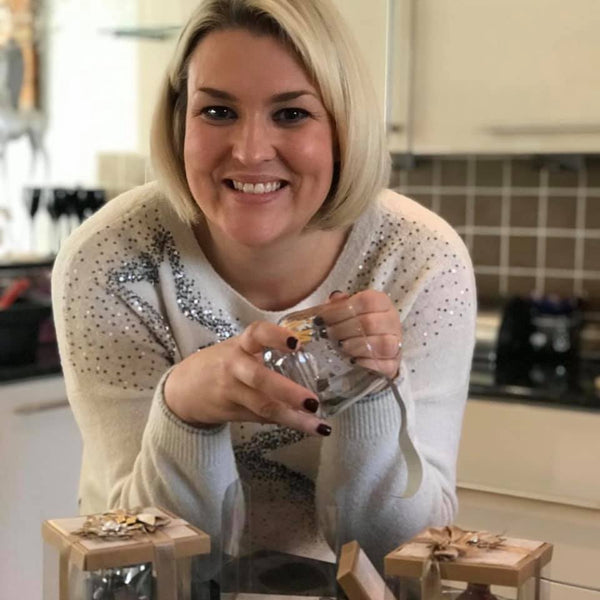
In this video, Dawn talks us through the concept of Create-a-Card dies and illustrates the flexibility of these to create a couple of stunning makes.
Dawn has incredible vision, and in her unique style, she shares something different with you, offering top tips along the way – helping you to develop your technique.
Enjoy the video and simply follow our step-by-step instructions below to help you create these beautiful cards.
Love what you see? Enjoy 20% off Create-a-Card dies until midnight 19th July OR order before midnight 15th July and you’ll get AN EXTRA 10% OFF at the checkout! Click here to take advantage of this offer!
What You’ll Need To Make These Cards
Die’sire Create-a-Card Metal Die – Bordeaux
Die’sire Create-a-Card Metal Die – Butterfly Garden
Sara’s Rustic Wedding Collection Items (6×6 Paper pad, Wooden Buttons, Charm, Jude, Cotton Ribbon, Lace, Word die)
Tim Holtz Distress Ink – Tea Dye
Step 1
Prepare card and papers for the project: Card base – 5 ¾” x 11 ½” and score in half to make a square card / Background paper – 5 ½” x 5 ½” / Main paper – 5 ¼” x 5 ¼” / Card insert – 5 ¾” x 5 ¾”.
Step 2
Create a diagonal score line on the front of your card.
Step 3
Lay your background and main papers on the front square of your card base and tape in place, then turn this over and position your Create-a-Card die on the inside of the card facing outwards on the score line you created. Tape this down and pass this through your machine (the Gemini will cut all these layers but as long as you have the basic outline of the die shape on you patterned papers you can then cut this free hand).
Step 4
Clear die cut pieces from your card base and cut away the die shape from your background and main papers.
Step 5
Glue your background and main patterned papers in place and attach the insert paper to your card.
Step 6
Fold back the decorative triangle section made by the die and glue the corner with some tacky glue.
Step 7
Now decorate your card with your embellishments for that finishing touch.
What have you made with Create-a-Card dies?
We love to see your makes! Please share with us on our Facebook page, tag us on Instagram (#crafterscompanion), on Pinterest (@CraftersCompUK) or on Twitter (@CraftersCompUK)

