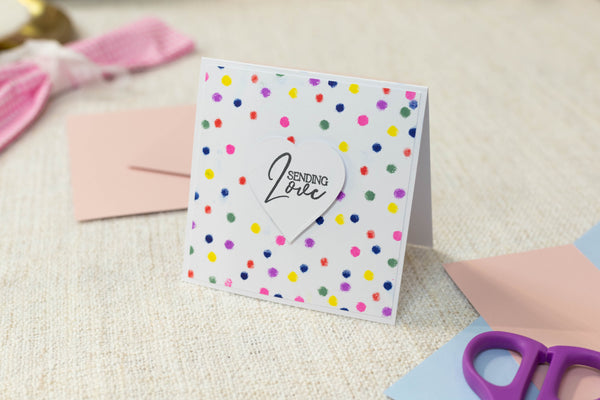
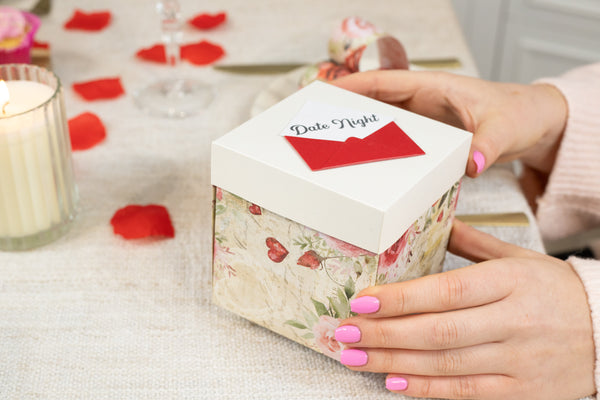
Create your own Valentine's Day photo card
- Read time: 4 minutes
- Written by: Louise Brown
----
You will need:
Getting started:
1. Cut your A3 white cardstock down to 16” x 8”, and score it in half to create an 8” square card.
2. Cut your gold mirror card down to 7 7/8” square and your patterned paper down to 7 3/4” square.
3. Cut another piece of white card to 4.5” x 5.5”, another gold mirror piece measuring 4 3/8” x 5 3/8” and a piece patterned paper measuring 4 1/4” x 5 1/4”
 |
 |
 |
4. Mat and layer up your large piece with the fold of the card at the top and the mat and layer the small pieces and put the 2 pieces to one side.
5. Take some gold mirror card and the Amore Nesting Die. Run through your Gemini Die Cutting Machine.
6. Repeat this with some white card as well. Glue these to piece together with the gold on top and the white as a subtle drop shadow
 |
 |
 |
7. Take some more gold mirror card and the Sequin Die and run through the Gemini.
8. Cut out a small piece of acetate measuring 2.5” x 3.5.” Run some Red Liner Tape along the back of the nesting die and secure the acetate to the back. Add strips of foam pads along all edges ensuring there are no gaps.
 |
 |
 |
10. Take your sequins, and place around half in the centre of the photo. Make sure they all have the gold facing upwards and they are nowhere near the edge of the photo as they will get trapped if they are.
 |
 |
 |
13. Take the Scattered Corners Love Heart Die and die cut this out of both gold mirror and white card. With the gold card on top glue them together using the white as a drop shadow.
14. Repeat this process once more leaving you with 2 corners.
 |
 |
 |
16. Take the corner die-cut pieces and glue them down on opposite corners. Take the sentiment, attach some foam pads to the back and the attach on top left corner.
17. Take some of the remaining sequin pieces and randomly dot these around the background with glue to add some shine.

|
Share your makes with us and follow along on Social Media! You can find us on Facebook, Instagram, LinkedIn, or TikTok and using the hashtag #crafterscompanion to tag us in your posts.


